
Load Balancer in AWS
what is Load Balancer
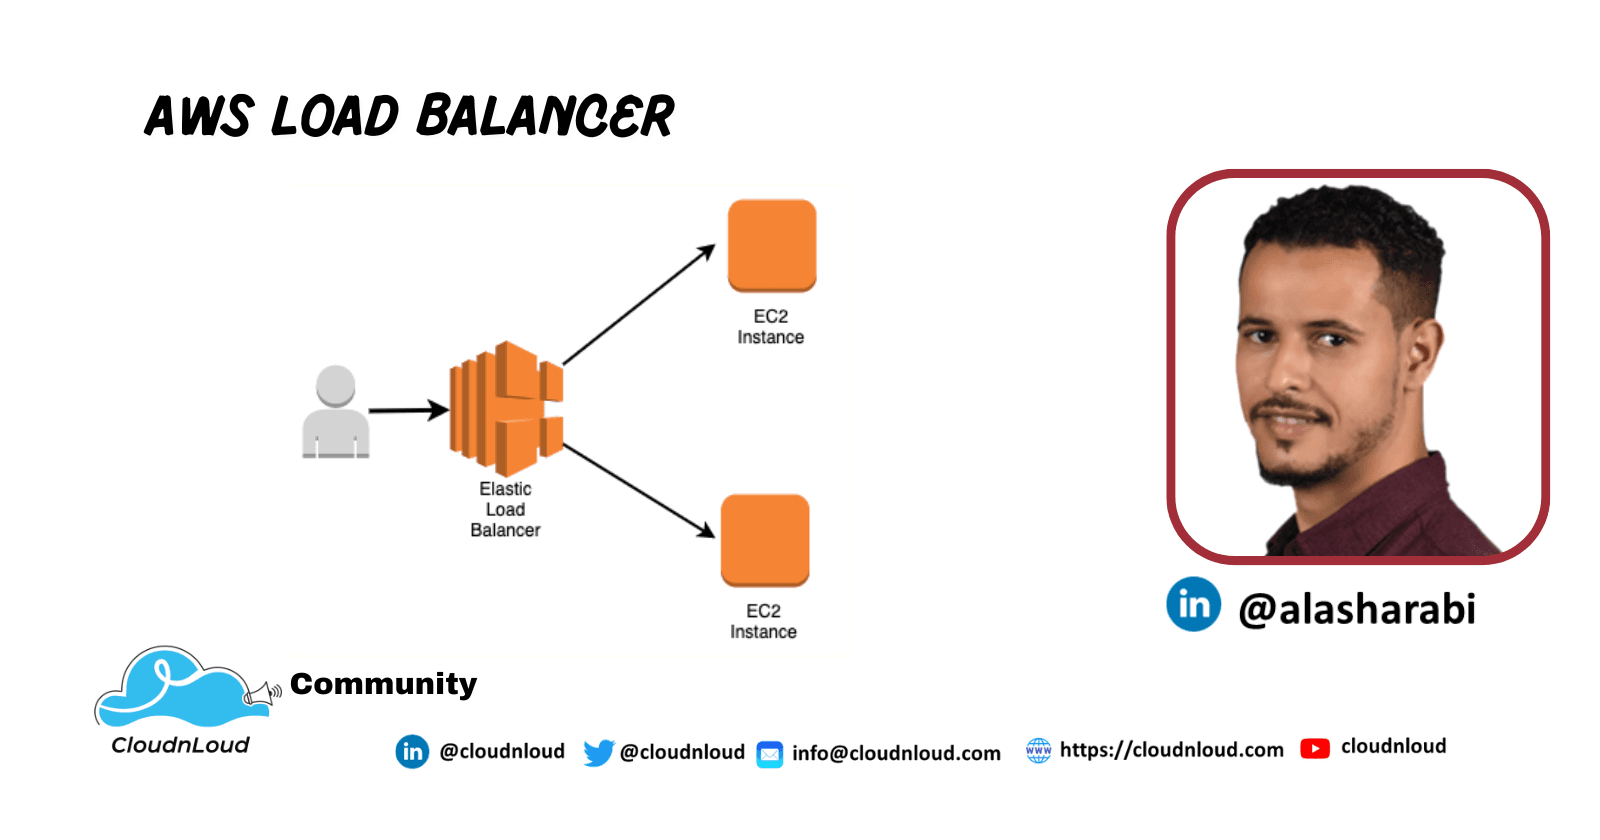
A load balancer serves as the single point of contact for clients. The load balancer distributes incoming application traffic across multiple targets, such as EC2 instances, in multiple Availability Zones. This increases the availability of your application. You add one or more listeners to your load balancer.
Understanding Load Balancer
A load balancer accepts incoming traffic from clients and routes requests to EC2 instances ( Targets). The load balancer also monitors the health of its registered targets and ensures that it routes traffic only to healthy targets.
When the load balancer detects an unhealthy target, it stops routing traffic to that target. It then resumes routing traffic to that target when it detects that the target is healthy again.
Type of the load balancer in aws
Application Load Balancers, Network Load Balancers, and Classic Load Balancers.
Creating Load Balancer and attaching EC2 machines
Step 1: Create Linux Machine1 Launch instance => Amazon Linux => No of instance - 1 => Name Tag- Machine1 => Security Group => LB_SG Description - Load Balancer SG =>Add Rule (HTTP) => Launch instances
Step 2: Create key peer by the name LB _KP and Convert pem to ppk file using Puttygen
Step 3: Access the machine using Putty
Step 4: Run the commands using Putty to install web package sudo su yum update -y yum install httpd -y cd /var/www/html echo "this my web1 it will be showing in machine 1 " > index.html ls service httpd start chkconfig httpd on
Step 5: Access the webserver by using public_ip of machine1
============
Step 6: Create Linux Machine2 Launch instance => Amazon Linux => No of instance - 1 => Name Tag- Machine2=> and install Web package =>in Advanced Details - User data (put the below code)
#!/bin/bash sudo su yum update -y yum install httpd -y cd /var/www/html echo "this my web2 it will be showing in machine 2" > index.html service httpd start chkconfig httpd on Description - Load Balancer SG =>Add Rule (HTTP) => Next => Select existing security group -- Choose existing key pair -- Launch instance.
=============
Step 7: Create load balancers (Select classic load balancer)
Load Balancer Name => Load balancer => Next => select existing security group=> NeXT => Step 4: (Run the commands using Putty to install web package)
Response Timeout - 2 Seconds Interval - 5 Seconds Unhealthy threshold - 2 Healthy threshold - 2
Next => Attach both the instances (Machine1 & Machine2) Next => Next => Create
Step 8: Access the webserver by using public_ip of machine2
Testing Load Balancer
Step 9: Lest verify the instances manually by Select public ip and paste in browser Step 10: Access the load balance by using DNS and experience the load balancer. Step 11: If one server is down by stopping the machine1 , it should redirect the traffic to another server (machine12).
Community and Social Footprints :