Spin Up A Linux Machine In No Time!

Are you someone learning Linux and would love to have a machine spun up on a cloud environment as it would be nice one to learn cloud and Linux simultaneously. Please read on to find out the steps to create a Basic Linux Machine on AWS for learning and training purpose.
Prerequisite:
Create an AWS Account or if you already have one, you are free to make use of it based on the purpose of the account. Here is a quick link of the documentation to follow https://aws.amazon.com/premiumsupport/knowledge-center/create-and-activate-aws-account/ Once we have our account ready, we should be good to start.
Steps to create a basic LINUX Machine for Learning and Training Purpose:
Login to AWS CONSOLE https://aws.amazon.com/console/
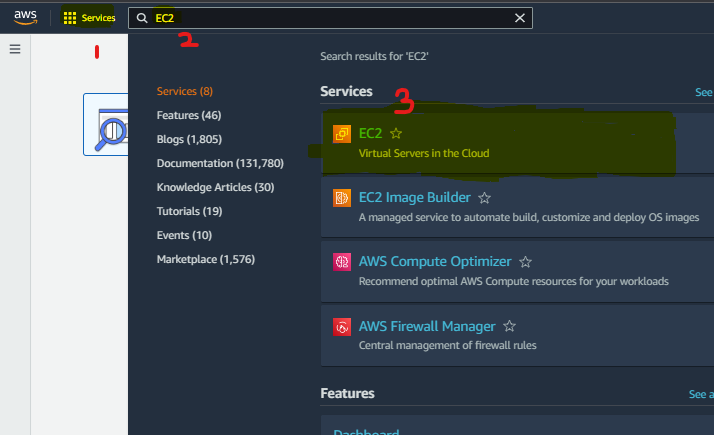
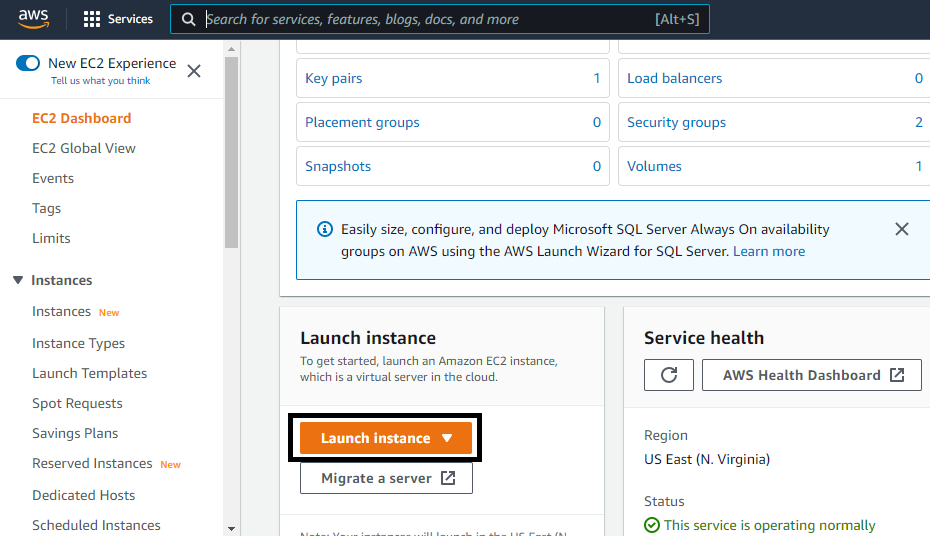
Click on “Services” on the top left corner, in the search box, type “EC2” and hit EC2 on the search results returned.
- On the “EC2” service page, click on “Launch Instance”
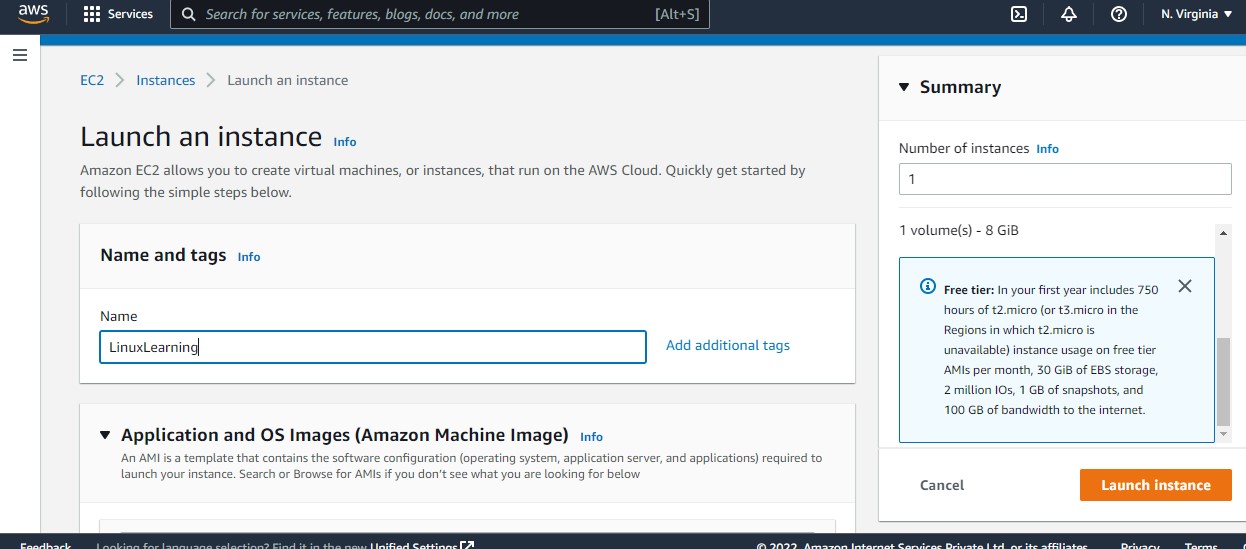
- Type in a name for the EC2 instance
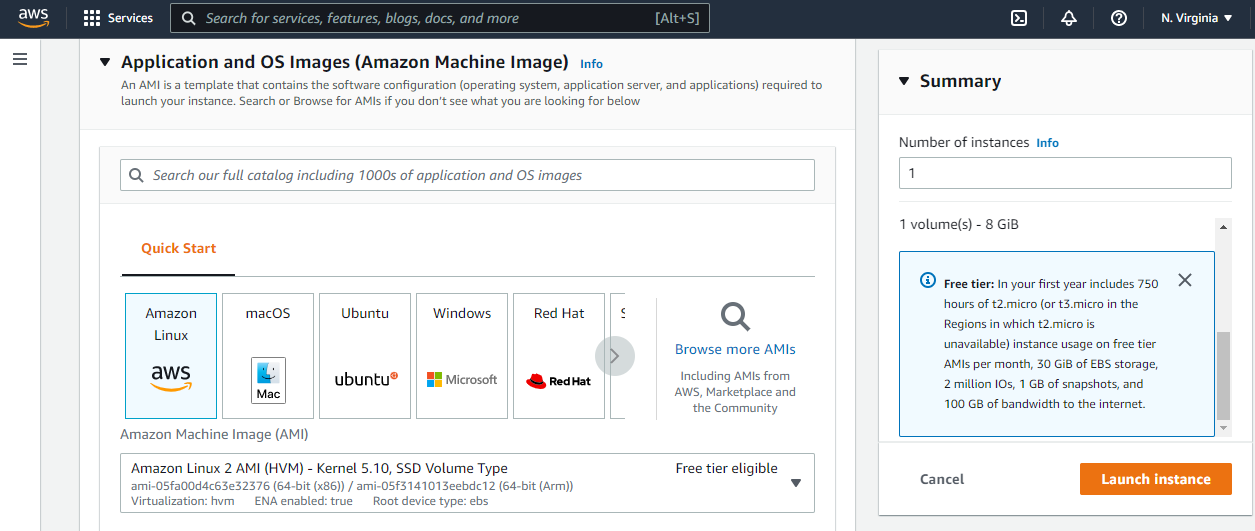
- Now select the AMI as "Amazon Linux" which is equivalent to RedHatLinux/CentOS
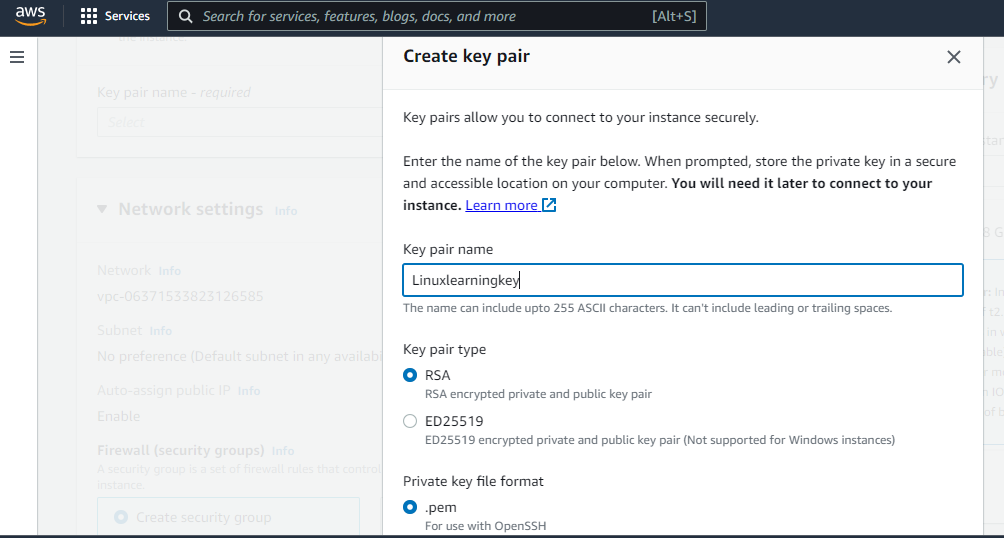
- Select the instance type as "t2.micro" which is a free tier eligible and then click on "create new key pair"
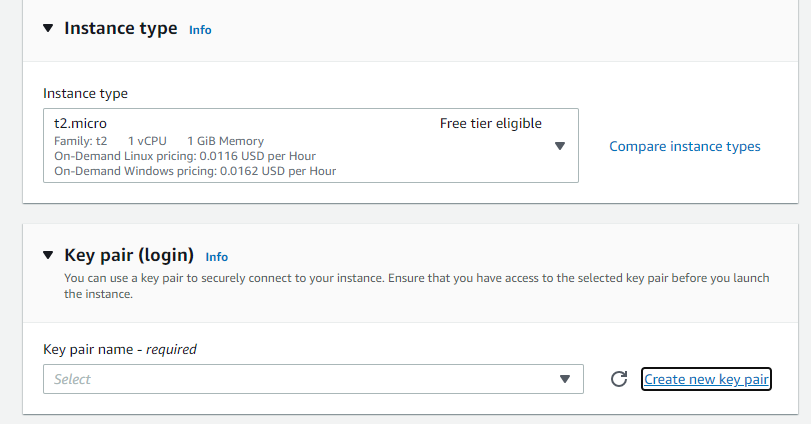
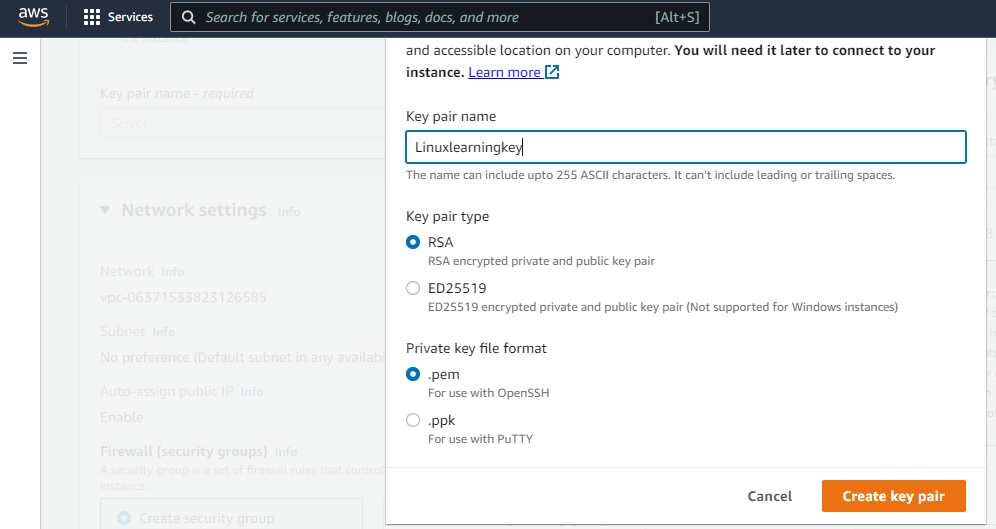
- Provide a keypair name and select RSA and the private pem file option as shown in the image below
- Then click on "create a new key pair"
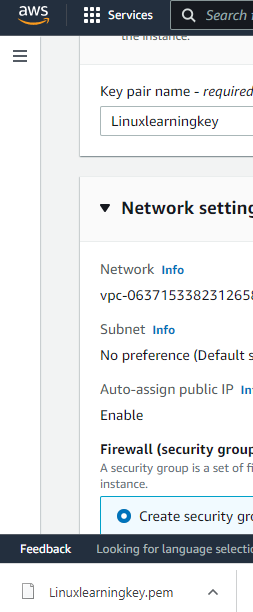
- The .pem file( private key file for use with SSH) will be downloaded. Please keep it accessible as it is required to be able to access the machine.
- Default network settings please check if the connection is allowed for, anywhere on the internet so we could access the machine using SSH. Though this is not the same thing in a production environment
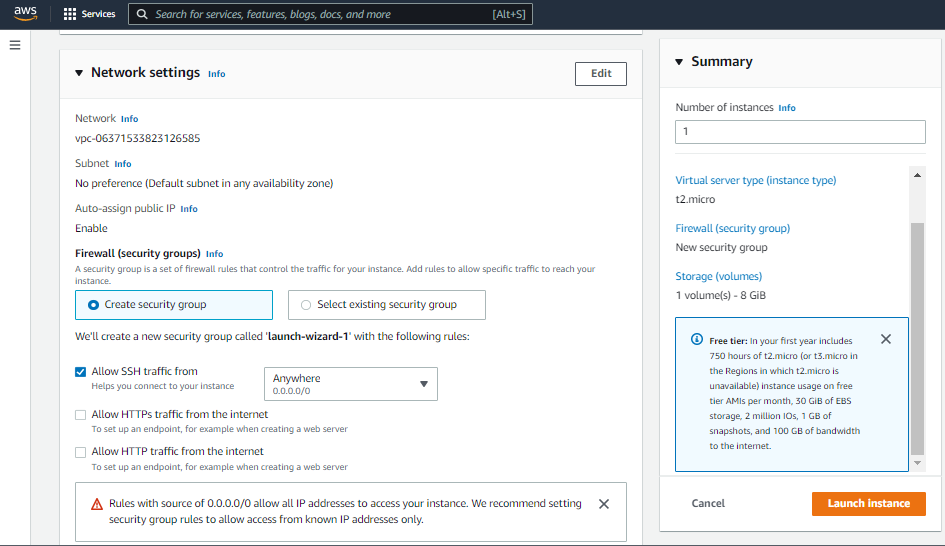
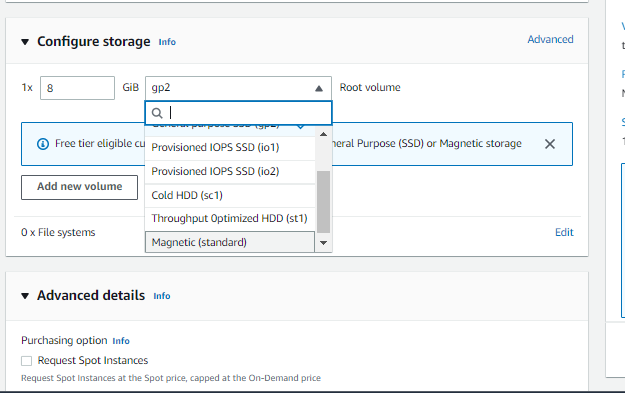
- Check on the storage options and select the magnetic disk as it is more than sufficient for learning purpose
- Click on Launch instance to spin up a VM
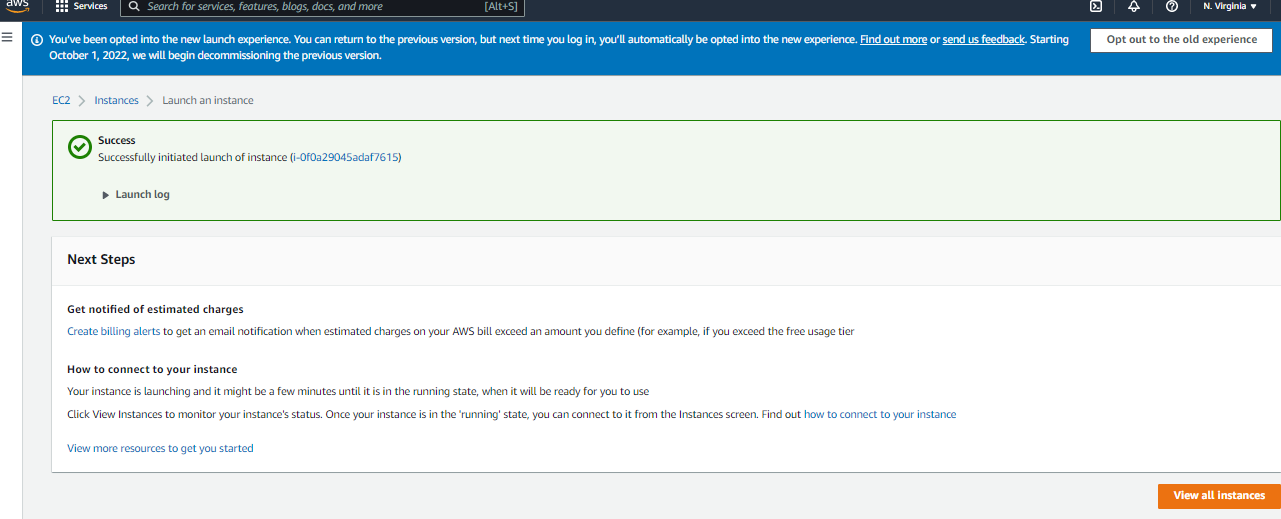
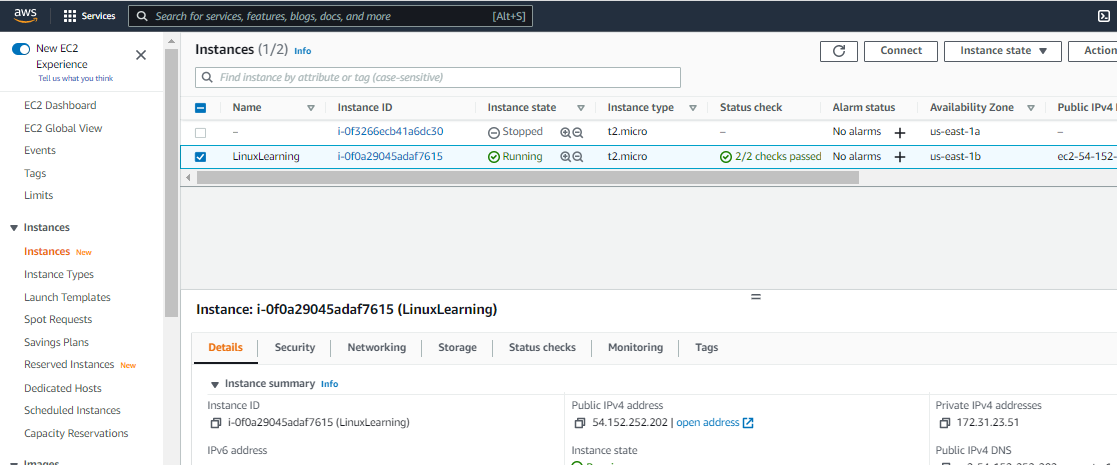
- Check the EC2 service page to check on the status of the VM that is being created


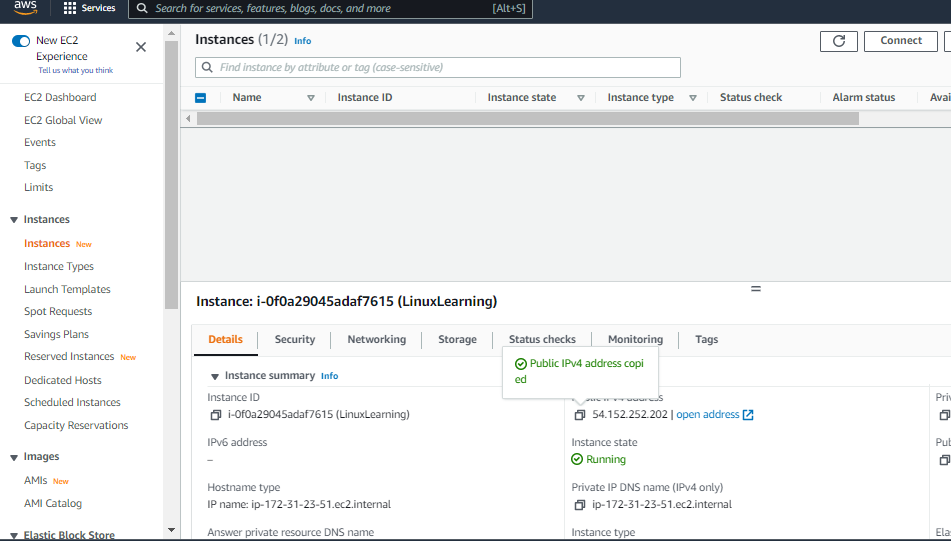
- Once the VM is fully created and operational, we should be able to see the public IP Address of the machine. This is the IP that can be used to gain access to the machine using SSH
How to Login to the newly created VM?
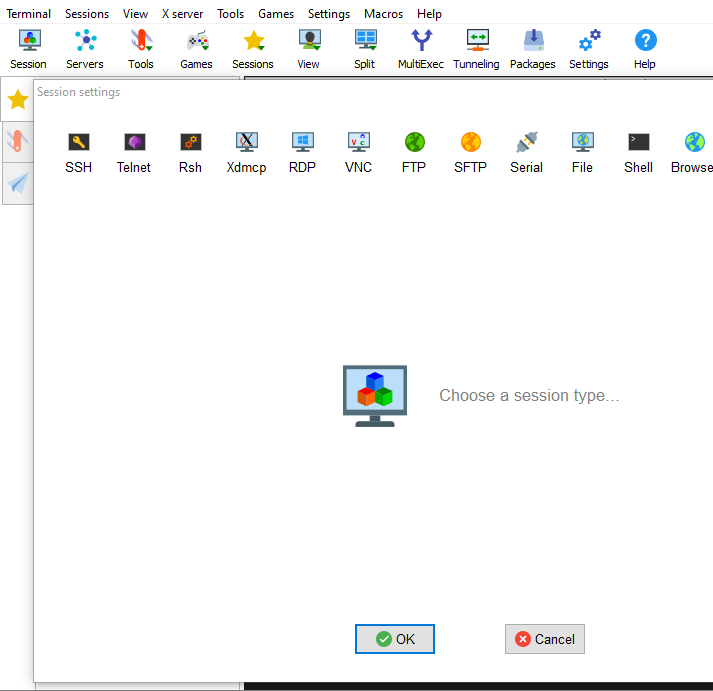
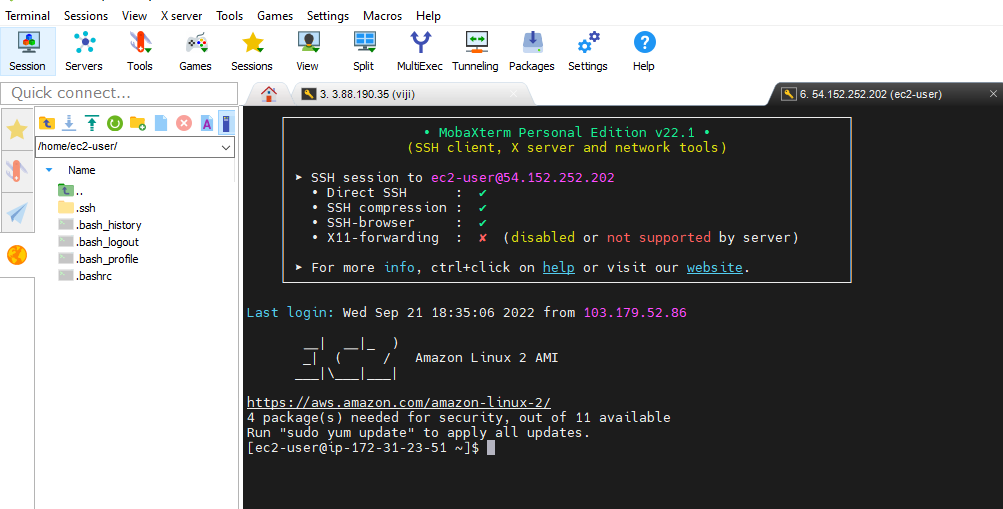
I am using MobaXterm https://mobaxterm.mobatek.net/download-home-edition.html to establish SSH Session on to the machine. It is quick and easy to install.
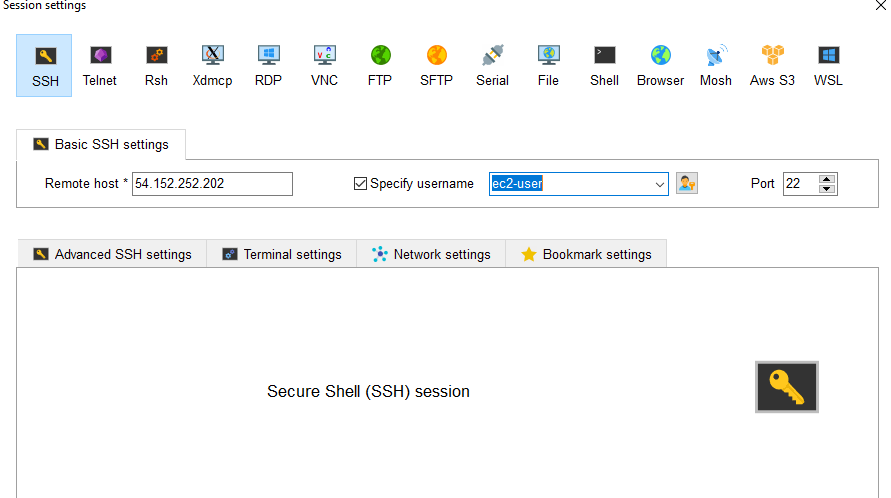
- Open MobaXterm and select SSH at the top left corner
- Copy the Public IP address of the machine that you are trying to access from AWS Console
- On the Remote Host Field, type in the Public IP Address of the machine. Default user name for ec2 instance is ec2-user
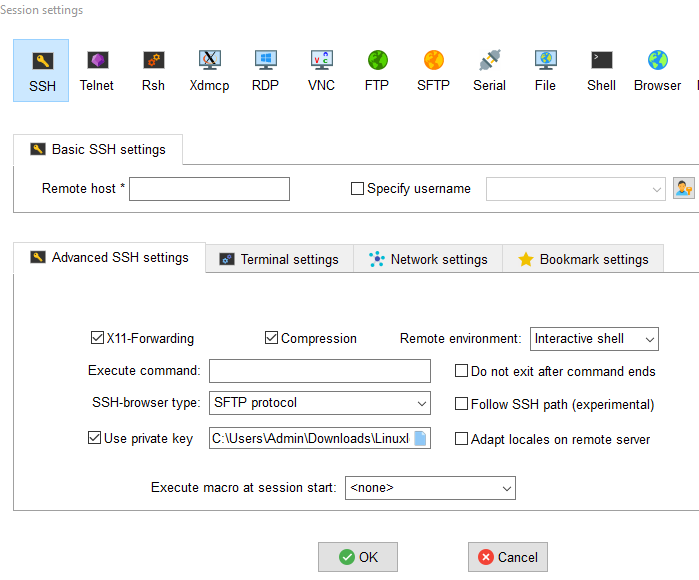
- Under Advanced SSH Settings . select use private key and upload the .pem file downloaded during the creation of instance and hit ok to gain access to the machine.
Happy Learning! Hope it helped!